
Create a blog for free with blogger…
Blogging is one of the best ways for making money online. Here, you can earn money through both google Adsense and Affiliate links or through marketing of a product.
But buying a domain then good hosting then what not can be costly. Let’s say like if you are going through some kind of financial problems or if you are a student then it can be hard for you.
One thing I would like to suggest here is that if possible, buy your domain yourself rather than having it free from blogger. It does not cost that much and gives you a bit of security.
Most of people generally starts blogging using a blogger/blogspot since its absolutely free.
Creating a blog using blogger is the most easiest thing to do. You don’t require any such technical skills like coding and stuff plus domain and hosting are absolutely free.
But yes to remove few things you need to know one or two codes to make your site look absolutely authentic.
So lets gets started.
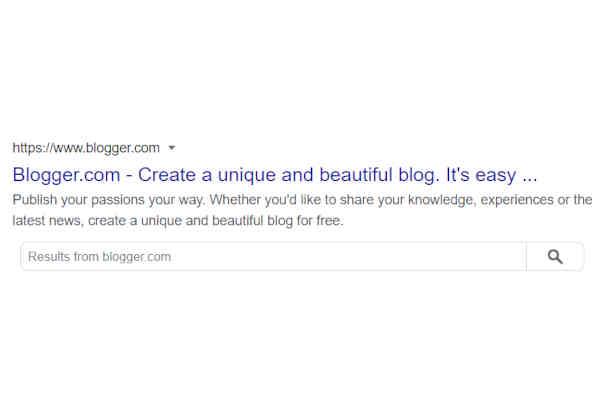
1) Search for blogger.com.
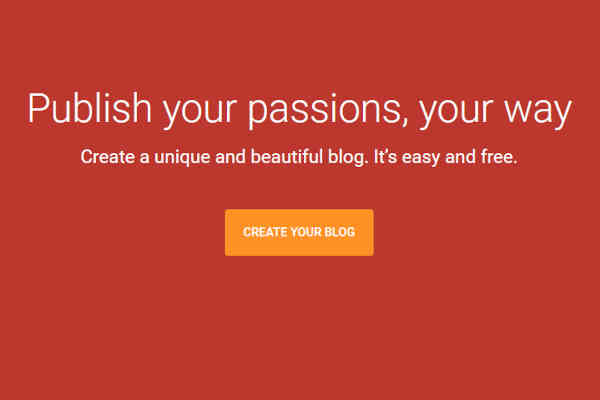
2) Click on create a new site.
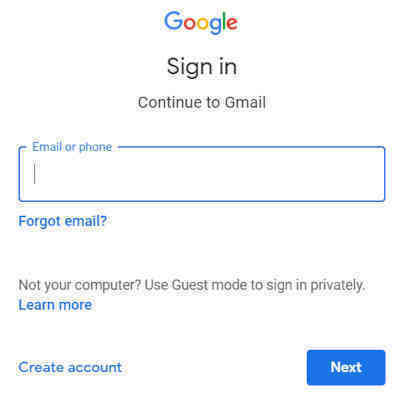
3) Sign into your google account.
4) Enter the title of your blog.
You can use blog name generators to find a suitable blog name.

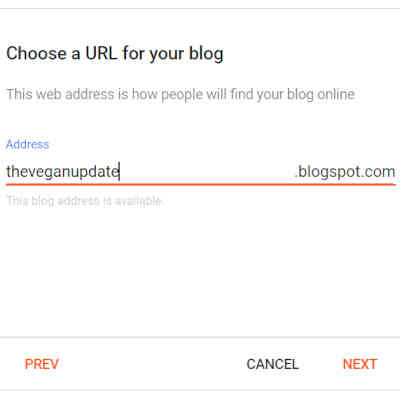
5) Enter the URL.
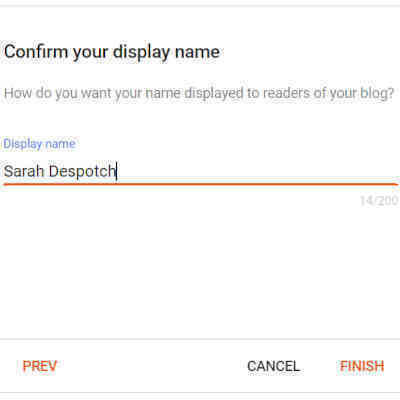
6) Enter the display name and finish.
7) Get rid off all the notices.

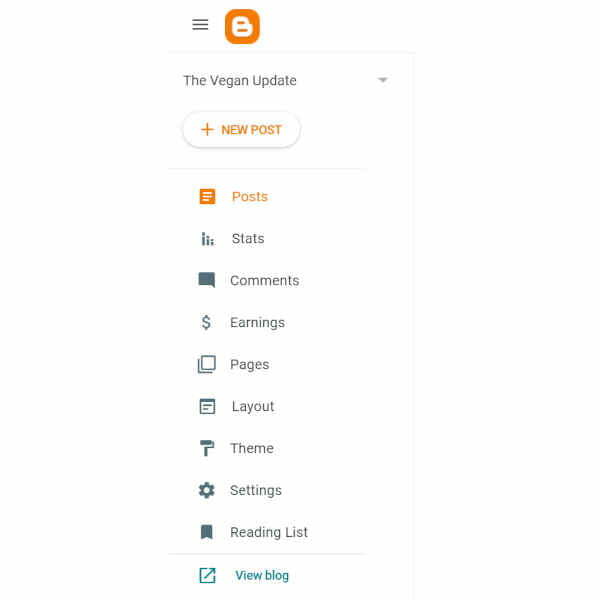
8) Menu.
8.1) Settings
- Basic–>Description
Description generally defines the meta data of your site. Example, the line ticked. Yes that two line sentence is the meta data of your site.
Click on “Description”. Write a description that describes your site in brief.

- HTTPS
Make sure your “HTTPS redirect” is on.
- Post–>Click on “Max posts shown on main page”
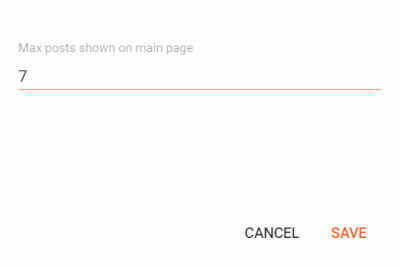
This is to edit the number the blog post you want to display on your home page or main page.
- Manage Blog–> Backup Content
Here you can manage your blog and create a backup for your site by downloading your content from it.
- User profile
This is present at the bottom of the page where you can change and provide email address for readers to contact you.
You can change the name used to sign your blog posts and a lot of extra details(which is not at all mandatory) ,do it only if you want to.
8.2) Themes
For Themes, options available in the theme section are quite limited. Therefore if the themes available does not satisfy your niche you can go and download more templates from “btemplates.com“.
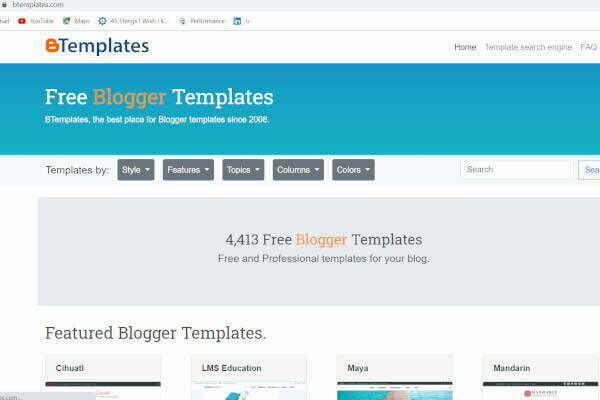
Btemplates consists of both free and paid templates from which you can select one for yourself and download it.
- After you download the file extract it in a folder and go back to themes section to upload it.
- Now click the down arrow beside Customize–>Restore–>Upload.
- Upload the XML document of your selected theme.
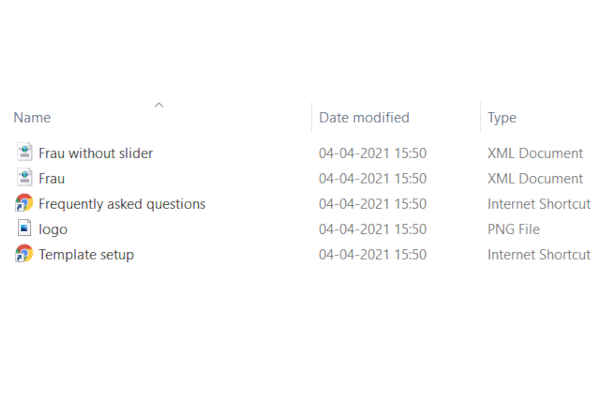
You can either select it with a slider or without a slider.
Before previewing lets upload few posts and pages so that we can get a clear picture of the template uploaded.
8.3) Post
Click Post-->New Post
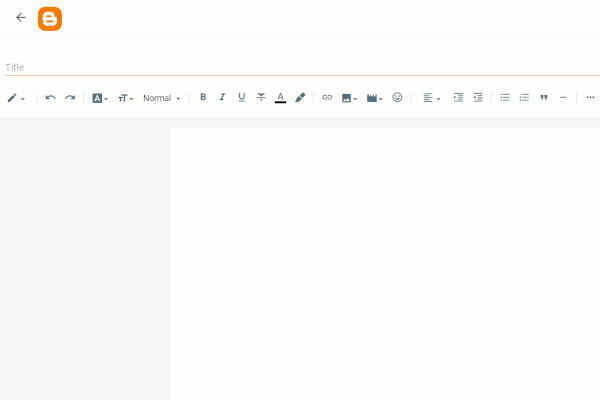
The top most menu is quite easy to understand, explore them n you will know what works for what.
Few of the things I would to explain you from the topmost menu are:
- Heading Drop Down List
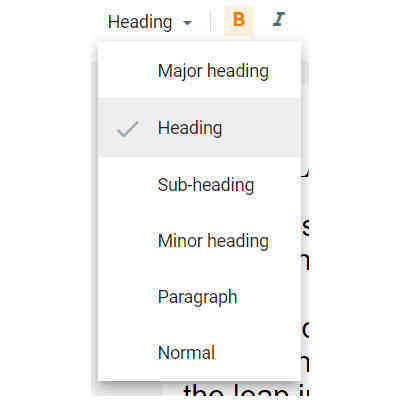
In the heading drop down list you can see Major Heading option. This options indicates the title of your blog. So choose anything apart from this to use inside your posts.
- Insert Link
It helps in including an internal and external link to your post.
- Select a word or a small sentence and click on the insert link option.
- A box will appear. Copy a link nd paste on it then apply.
Whenever a person will click on that particular word or sentence, it will redirect it to the given page that the link holds.

- Text to display: Represents the selected text.
- Paste or search for a link: This is where you need to provide the link of a page.
- Select open link in a new window.
- Apply.
- Image
Insert Image–>Upload from computer–>Choose File–>Select.
Click to know how to turn your image to an SEO Optimized Image.
The image appears with different options to customize its:
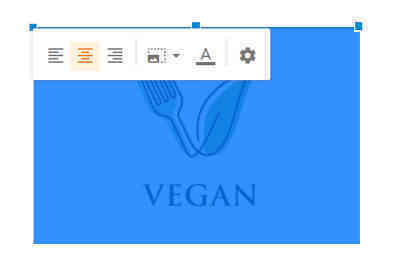
- Alignment of the image: left, center, right.
- Size of the image: small, medium, large, extra large, original.
- Add a caption: for adding caption to your image.
- Settings, where you can provide an alternate text to your image. This is done to help the viewer understand what does the image represent if ever its to fail appear due to network issue.
- Sidebar
- Permalink: add a customized permalink like “pasta-recipe”. Always give hyphen instead of space for permalink. And try to place the keyword of your post as your permalink.
- Label: Label is a kind of category under which the post will get displayed.
- Option: where you can enable/disable your comment section.
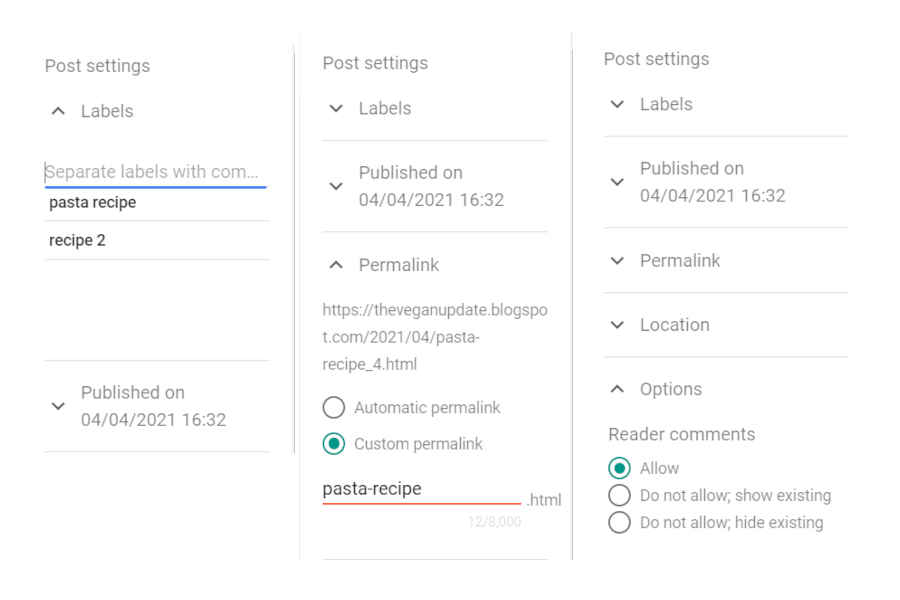
Always remember the first photo inside of your blog post will get displayed as the featured image of that particular post.
8.4) Page
Click Pages–>New Page.
The editor is similar to the one posted above.
One thing that you should change is the comment option.
Since its a page and comments are unnecessary therefore select the hide option below the “Option” category in the sidebar.
Always create an About Us, Privacy Policy and Contact US page for your site.
8.5) Layout
- Header
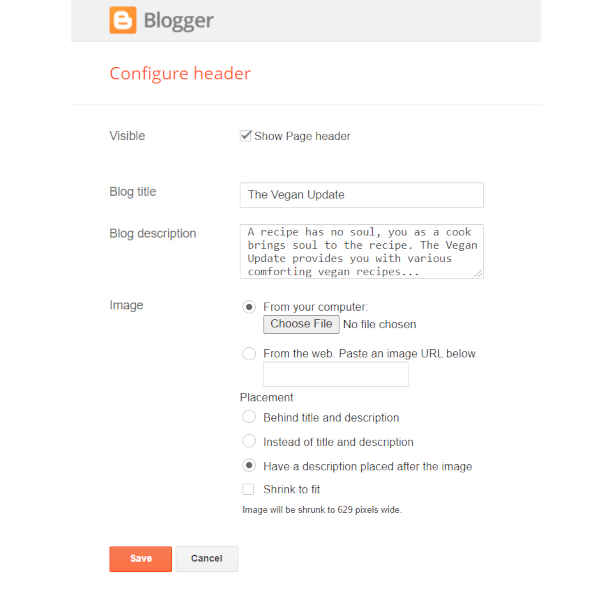
Here you can insert a logo to your website.
- Select a logo from the files.
- Select the placement of the logo from the give options i.e.:
- Behind title and description.
- Behind title and description
- Have a description placed after the image.
Uploading a logo can get really annoying at times since even after uploading a perfect logo, the outcome is always be blurry.
So you have make a lot of adjustments to get a perfect logo.
After filling all the requirements click Save.
- Page List(top)/Page Menu
Page Menu might remain disable. So to make it enable click on its side then:
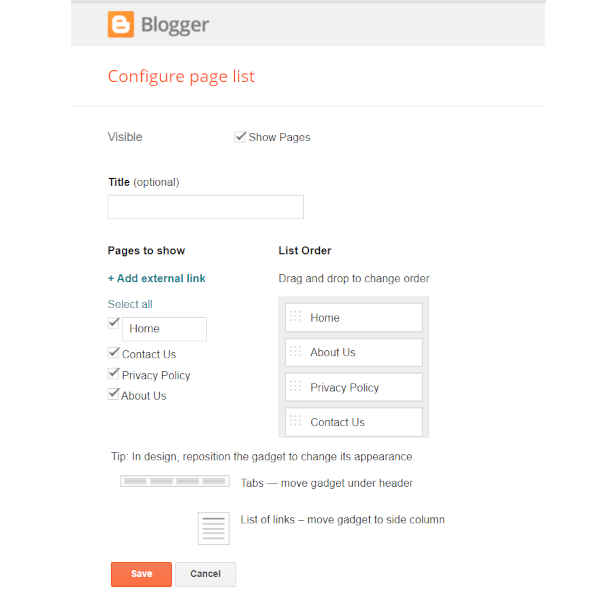
- Select Show Pages.
- Select the pages in the order as you want it to be assembled at the top bar.
- Click on “Save”.
- Add a Gadget
- Click on “Add a Gadget“. A Full list of option will appear.
- Click on the “+” symbol beside the option you want have selected.
- A box appears. Select its visibility and fill all the requirements and save it.
- Remove a Gadget
- Click on the side of the gadget you want to remove.
- A box will appear. Click “Remove” and your Gadget will get removed from the layout of your website.
- Footer.
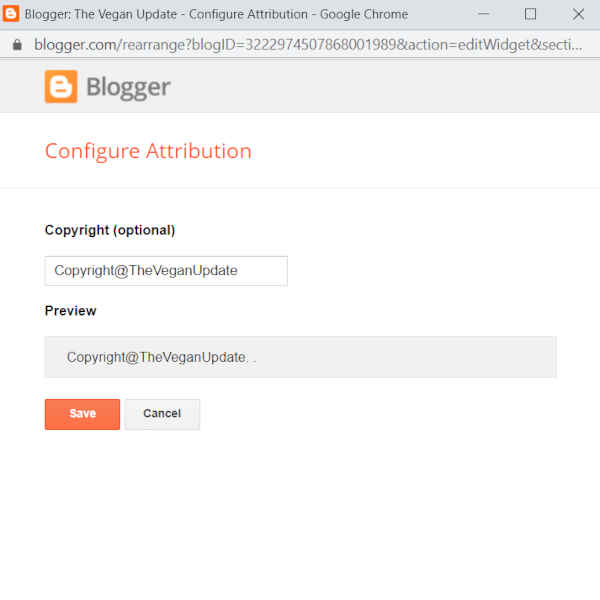
- Click on its side.
- Fill the section below Copyright with “Copyright@%websitename%”, then save it.
8.6) Themes
Click on Customize to customize your blog.
- Background
Here you can insert background image and change the main color of the theme of your site.
- Advanced

Body: Representing the body of your site.
You can customize:
- Body background colour.
- Font attributes: style, size.
- Link colour.
- Visited link colour.
- Link Hover colour.
- Blog Title Font attributes: style, size.
- Blog Title colour.
Featured Post
You can customize:
- Featured post main background colour.
- Featured post main title colour.
- Featured post main text colour.
- Featured post main buttons colour.
- Featured post main link colour.
Header
You can customize:
- Background colour.
- Description font attributes: style, size.
- Description colour.
- Page list colour.
- Text colour.
- Text font attributes: style, size.
Search
You can customize:
- Input Font Attribute: style, size.
- Gadgets
You can enable/disable:
- About Me Page.
- Menu bar where all pages are displayed.
- Follow Me by Email.
Then finally save it.
Now when you will view your blog you can see “Powered By blogger” at Footer.

How To remove “Powered by Blogger” symbol?
- Right click on top of “Powered By Blogger”.
- Select Inspect.
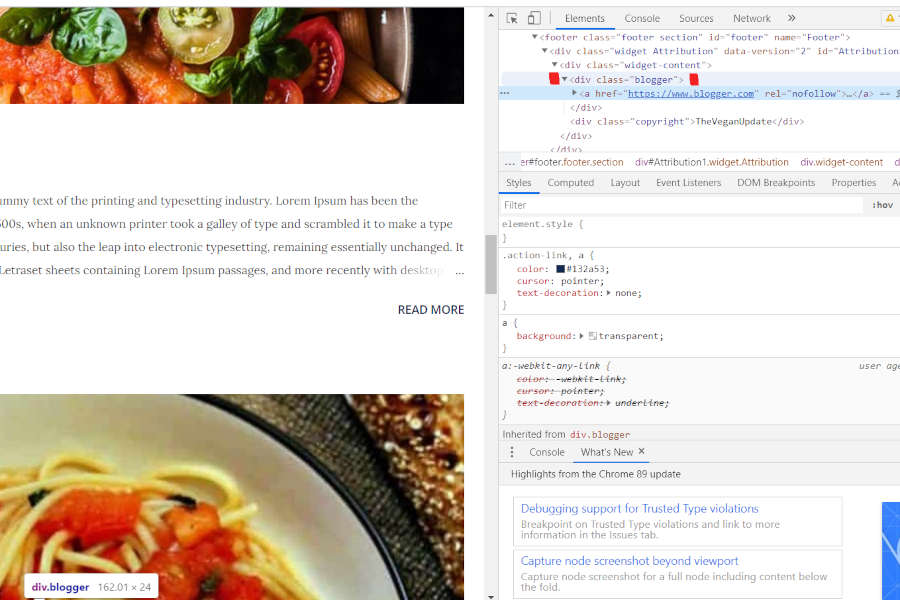
- You can see “class=blogger” is representing the whole section of “Powered By Blogger” symbol.
- Go to Themes.
- Click on down arrow beside “Customize”.
- Click on “Edit Html” from drop down list.
- Go to line number 208 and write:
.blogger{
display: none;
}
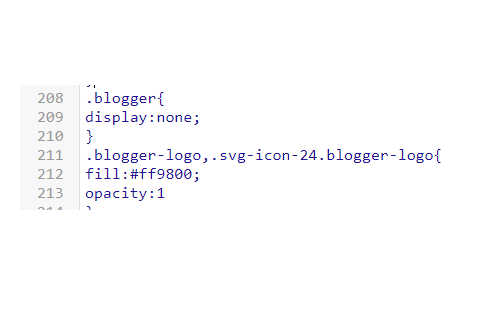
- Save.
- View Blog.
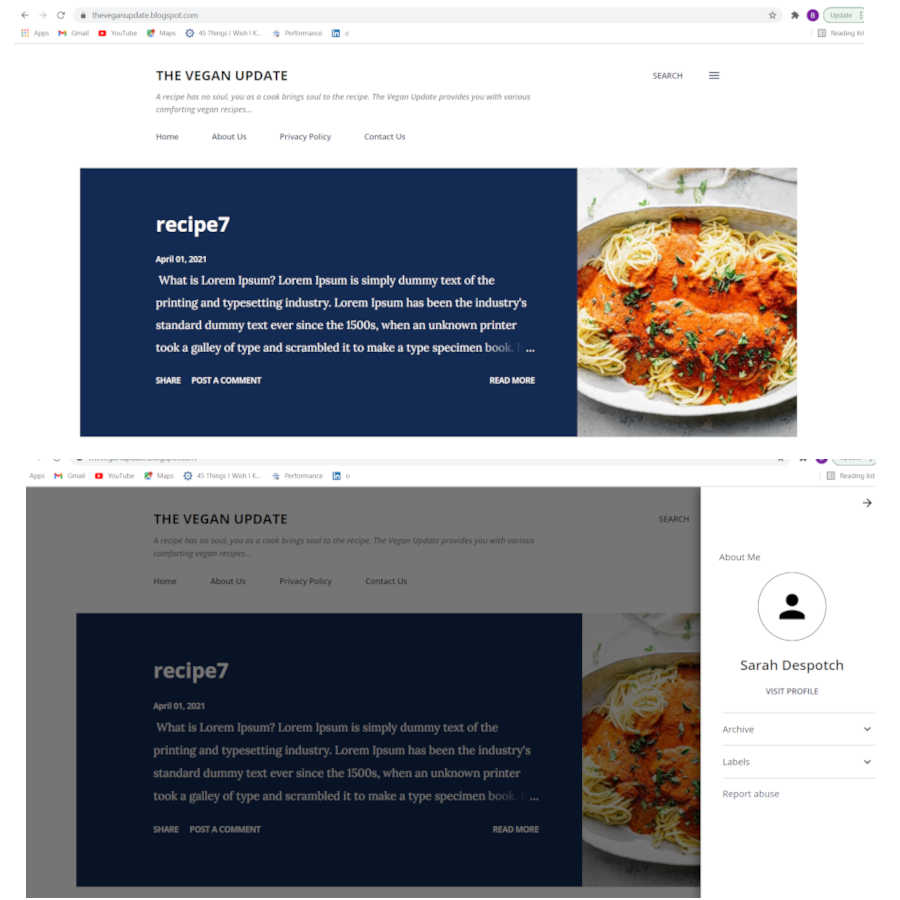
Conclusion
- Create a blog–> Select domain & URL.
- Settings: Basic Changes, HTTPS, Manage Content, User Profile.
- Theme–>Select template/Download from “btemplates.com“.
- Create Posts and Pages.
- Layout: Header, Menu, Sidebar, Add a Gadget, Remove a Gadget, Footer.
- Themes–>Customize.
- Remove Powered by Blogger Symbol.
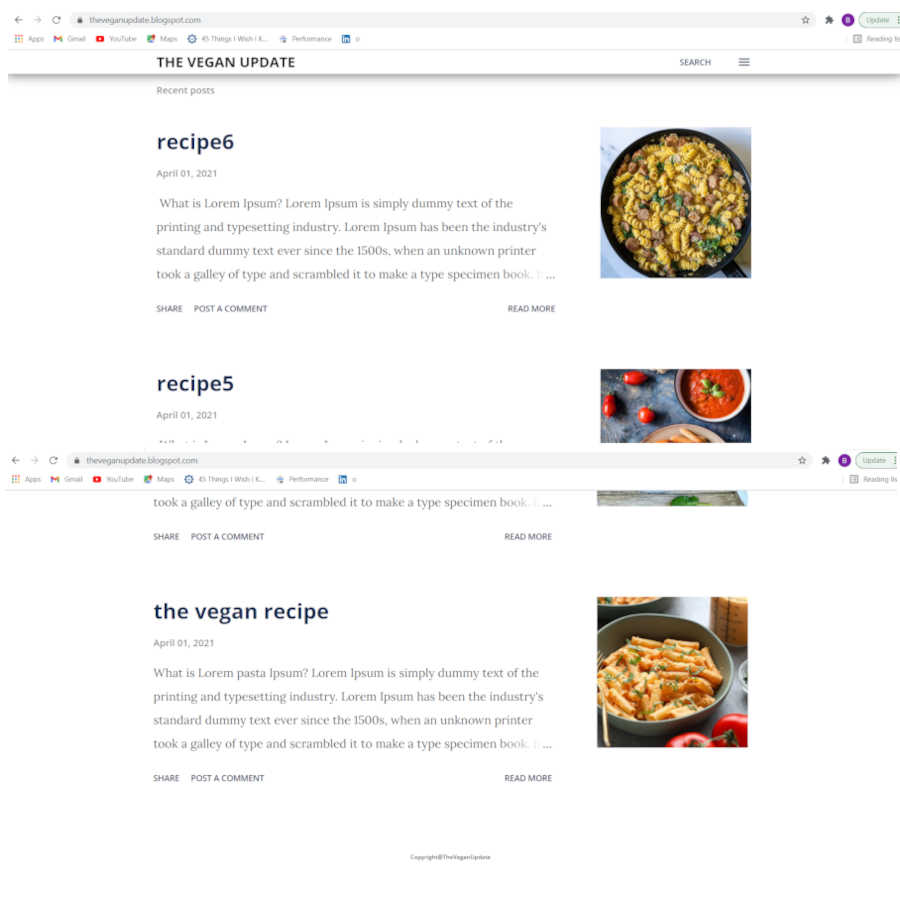
Hope I was able to help you a bit through this tutorial and, I know pasta is not vegan, please don’t complain or you can. I will definitely read those comments as well. Have a great day.
Also make your site more Optimized to generate lead by understanding conversion.
Very good post! We will be linking to this great post on our website.
Keep up the good writing.
I was able to find good information from your blog articles.
Spot on with this write-up, I seriously believe that this web site needs a lot
more attention. I’ll probably be back again to read through more,
thanks for the info!
Genuinely when someone doesn’t be aware of then its up to other
viewers that they will help, so here it happens.
I’m not that much of a internet reader to be honest but your sites really nice,
keep it up! I’ll go ahead and bookmark your website to come back down the road.
Cheers
For most up-to-date news you have to pay a quick visit the
web and on the web I found this website as a best site for
hottest updates.
Incredible! This blog looks exactly like my old one!
It’s on a entirely different subject but
it has pretty much the same page layout and design.
Excellent choice of colors!
Neat blog! Is your theme custom made or did you download it from somewhere?
A design like yours with a few simple adjustements would really make
my blog jump out. Please let me know where you got your theme.
Thanks